
This article explains how to use some of the Zoom's essential features for teaching.
- Use the waiting room
- Share your screen
- Share audio only in Zoom
- Set up breakout rooms
- Use reactions and the raise hand feature
- Use the meeting chat
- Use focus mode
Use the waiting room
When students join your Zoom, they'll be sent to the waiting room, and you can decide whether to let them in from there. When joining the class, students are prompted to type their name, so only let in students whose names you recognize.
As students enter in the Waiting Room, you should get an Admit option for them at the top of your screen:
To view the entire waiting room at once, click Participants at the bottom of your Zoom screen:
Then on the right side of your Zoom screen, you'll see a list of Joined participants with a list of participants in the waiting room just above. You can remove or admit them from there:
Share your screen
As long as you're the host or co-host of a meeting, you can share your screen. Click the green Share Screen button at the bottom of your Zoom window:
On the next screen, select what you'd like to share. To share just a specific app, like your Google Chrome browser, choose it here. If you'd like to share your entire screen, select Desktop 1. To start sharing, click Share on the bottom-right.
If you're sharing a video with sound, you'll need to select the "Share sound" option on the bottom-left in order for students to hear it.
Share audio only in Zoom
You may want to just share audio to students' laptops, especially if you play a song at the start of class. To do so, click Share Screen as described above, then click the Advanced option at the top of the screenshare window:
Then select Computer Audio and click Share on the bottom-right:
Set up breakout rooms
In your Zoom window, click More on the bottom-right, then click Breakout Rooms (sometimes this will appear as an option along the bottom as well):
Choose how many breakout rooms you'd like to create and how you'd like students to be assigned to them, then click Create:
On the next screen, click Assign to place students in each room. When the rooms are all set, click Open All Rooms to send students to their breakouts:
Once the rooms are open, students will see a pop-up message inviting them to join; they'll need to accept the invitation to be taken to their room.
You can click on participants to move them between rooms, and click on the rooms to hop between them yourself. When it's time to bring everyone back to the main room, click Close All Rooms:
Use reactions and the raise hand feature
Participants can raise their hand in Zoom and add emoji reactions to their video by clicking the Reactions button on the bottom of the Zoom screen:
Students using the Zoom PWA or Zoom on the web for Chromebooks may have a limited range of reactions to use. And if you'd like to turn off reactions for your meetings entirely, head to https://zoom.us/profile/setting (make sure you're logged into your Coursemojo Zoom account) and toggle off the "Meeting reactions" option.
When students raise their hands in Zoom, they can lower them from their own Reactions menu, or you can click Lower Hand next to the student's name in the Participants menu:
To lower everyone's hand at once, click More > Clear All Feedback:
Use the meeting chat
To access the meeting chat, click Chat on the bottom of your Zoom screen:
Within chat, you can send a message to everyone in the meeting (this is the default) or directly to individuals by clicking the "Everyone" drop-down above the message box and switching to the participant you'd like to message:
Students using the Zoom PWA or Zoom on the web for Chromebooks may not have all the chat options you do - in particular, adding emoji reactions to chat messages may be unavailable on their end.
To disable the chat entirely, click the three dots underneath the message window and select "No one":
Use focus mode
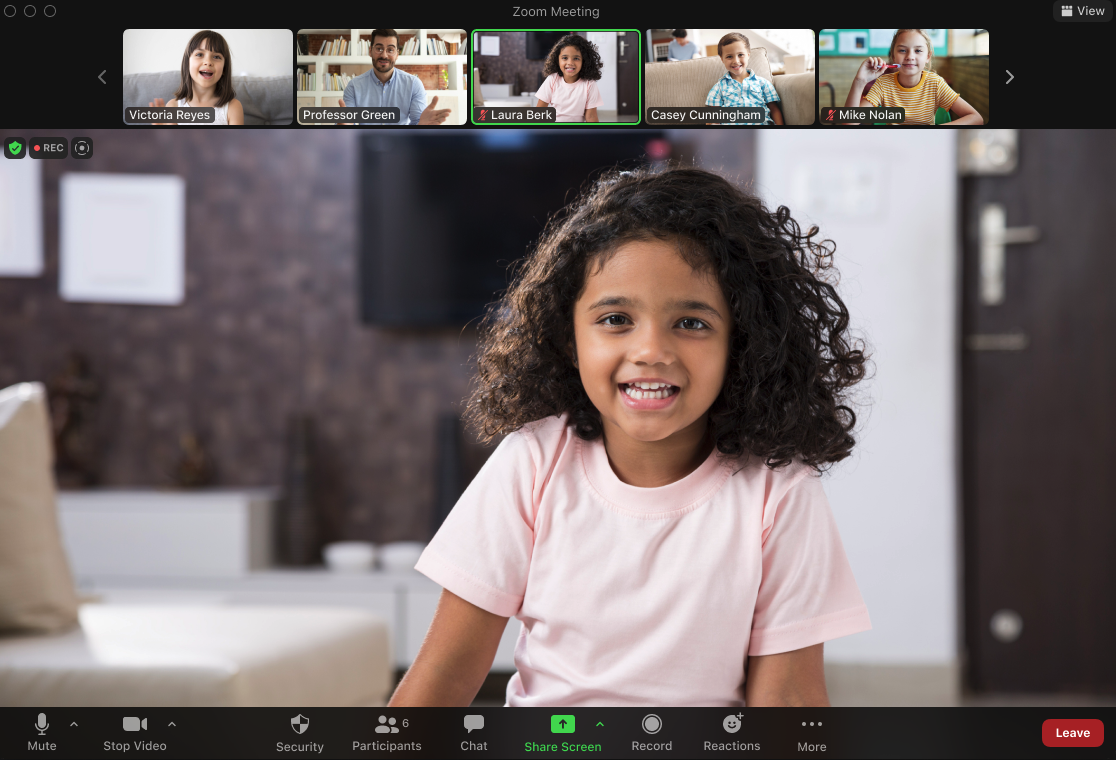
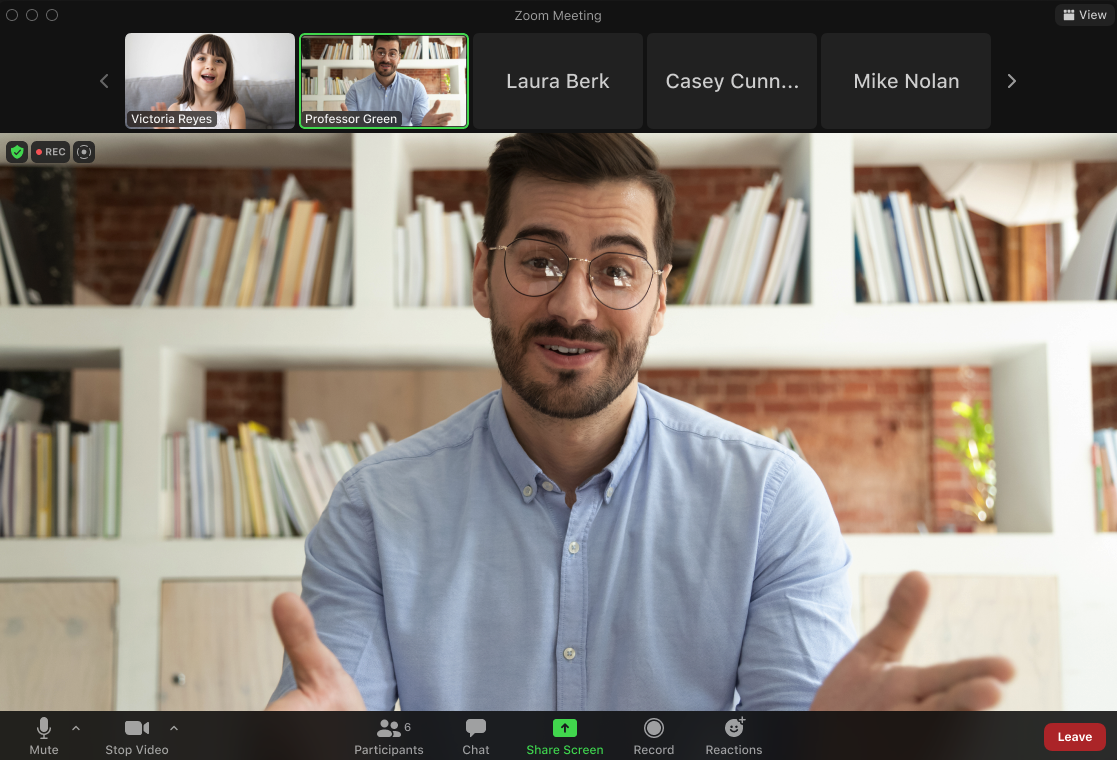
When a meeting is in focus mode, hosts and co-hosts can see everyone's videos, but participants can't see each other; participants will only see each other's names and non-verbal reactions (they'll still see any students who are spotlighted). Students will still hear other students who are off mute.
| What hosts and co-hosts see in focus mode: | What students see in focus mode: |
 |
 |
To start focus mode while a meeting is ongoing, click More from the options on the bottom, then click Start Focus Mode:
Click Start to confirm. You and meeting participants will be notified with a banner across the top of the Zoom window. To end focus mode, click More and then click Stop Focus Mode.
If you have any questions about using Zoom in the classroom, check out the Zoom section of our Help Center, or get in touch by Slacking #tech-support or emailing help@coursemojo.com!
Comments
0 comments
Please sign in to leave a comment.